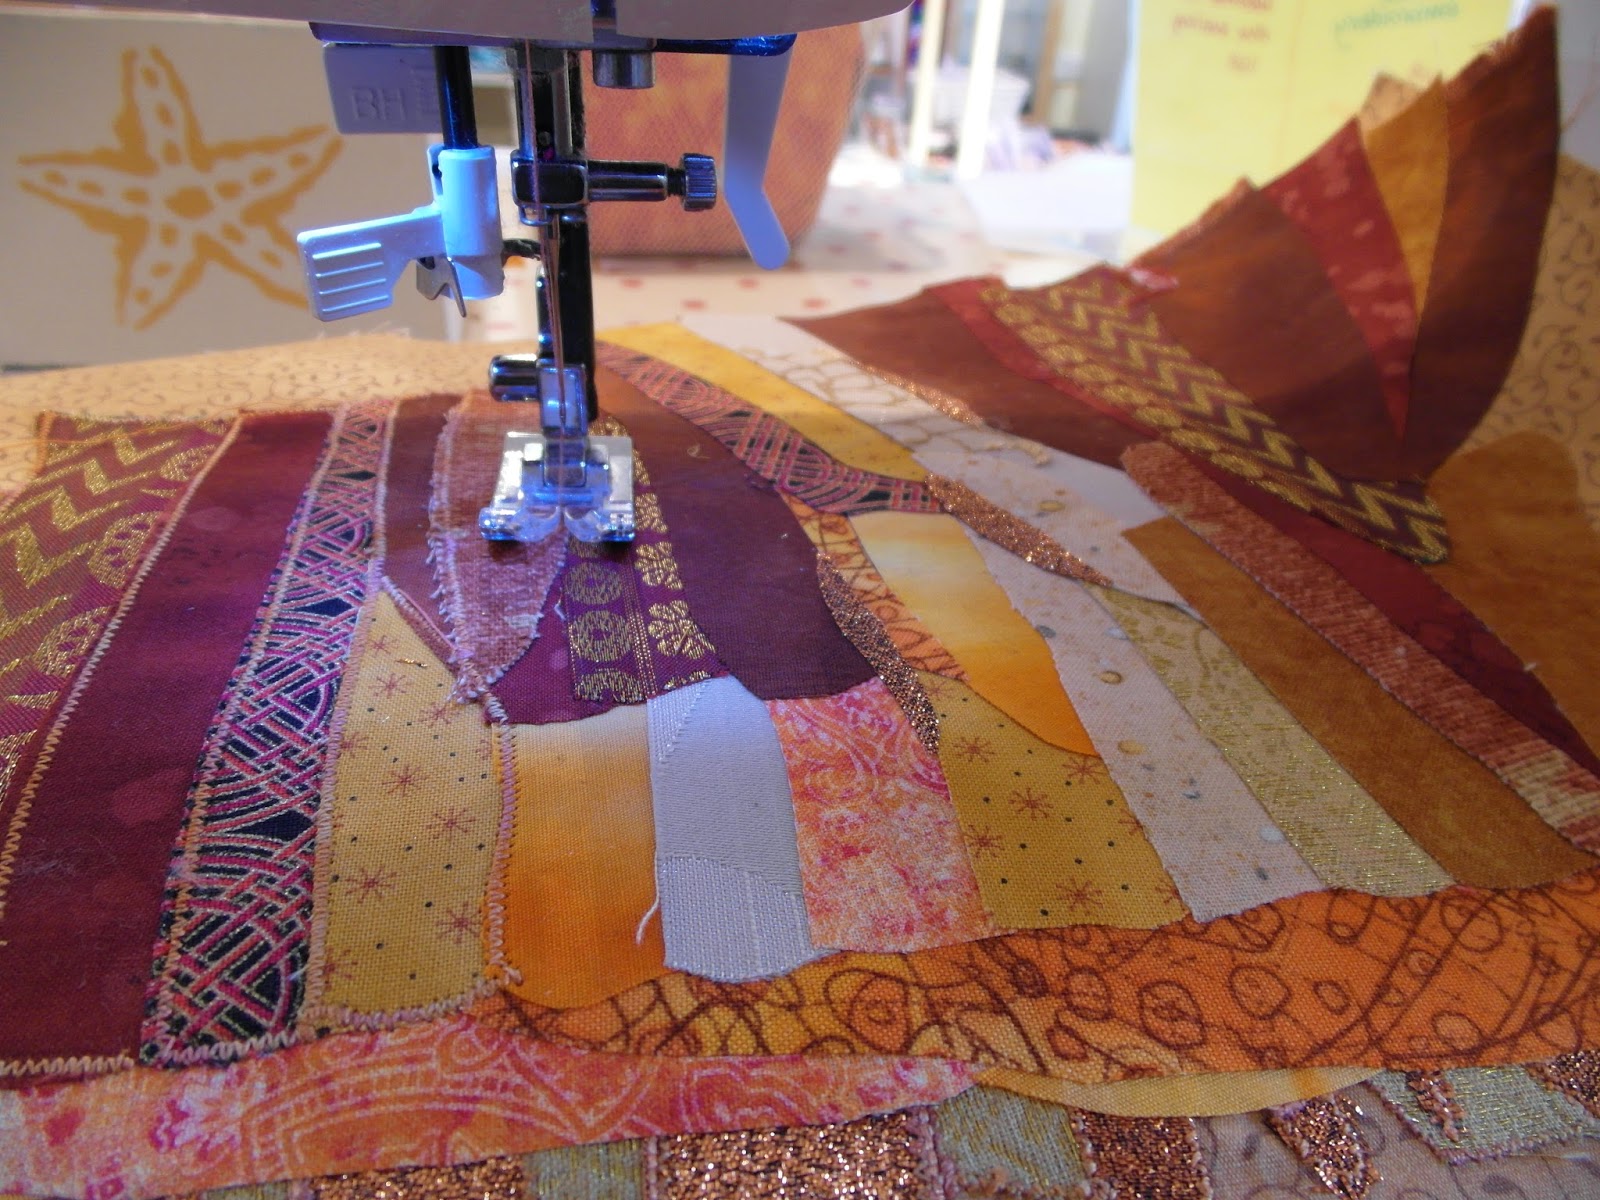
Whilst I love having a studio area within my shop, I have been a bit bothered by the fact that the work table has scissors, pins, needles etc. lying on it unattended when I'm behind the counter. Add to that trailing wires from the sewing machine and you can see why I panic a bit when children come in to the shop - it only takes a second for a distracted parent to not notice what their wee one is doing.
Also, customers sometimes walk behind the table, not realising that my stash isn't part of the shop stock, and then often look a bit awkward when the penny drops.
As I'm ducking in and out of the working area all day, the solution had to be something easily moveable and that wouldn't take up lots of space when not in use.
Don't you just love it when you have a lightbulb moment?!
Don't you just love it when you have a lightbulb moment?!
At the Creative Stitches show (held earlier this year in Glasgow) I bought this ingenious thing.
It has to be one of the simplest tools there is!
You place wool (or whatever) into 7 of the 8 slots, feed the ends into the middle hole and tie them in a knot.
Then you move one length of wool into the empty slot, jumping over two strands each time.
Easier to show than to explain!
You just keep on doing this for hours and hours and hours (it's very slow) until you end up with a very funky and totally unique piece of rope.
I attached a notice, tied one end through the (very convenient) holes in the back of a chair and tucked the other into my ribbons drawer, so I can take it in and out as often as I like. Sorted!


